 To run the iNotes program click/double-click the icon or shortcut configured on
your desktop or start-menu.
To run the iNotes program click/double-click the icon or shortcut configured on
your desktop or start-menu. Creating/Editing Tracker Inventory Notes
To run the iNotes program click/double-click the icon or shortcut configured on
your desktop or start-menu.
To exit the Inventory Notes program click the OK or Cancel button.
To add notes to a part number, start by calling up the part number. Enter a part number in the Inventory # dialog.
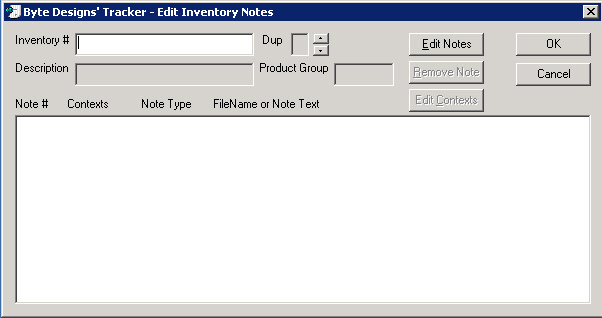
Type in the part number and press ENTER.
If one or more notes already exist for the part number summary information will be displayed in the main window.
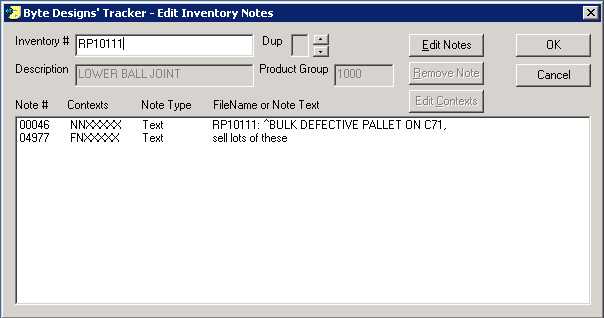
To edit a note, click the Edit Notes button and enter the Note # or simply double-click the note line in the main window.
To create a new note click the Edit Notes button followed by the New Note button in the Edit Inventory Notes window.
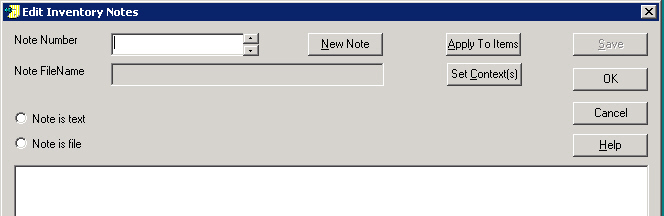
When the New Note button is pressed the Edit Inventory Notes will appear with a Note Number that will be used and the radio button Note is text will be checked.
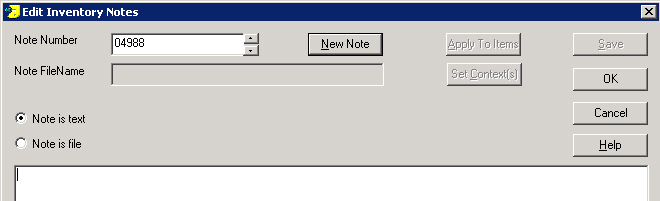
Add the desired text and then click the Save button. After the note has been saved the Apply To Items and Set Context(s) buttons will become available. On a note only the Apply To Items button will actually be the only one active as the next step is to Apply the new note to one or more items (part numbers).
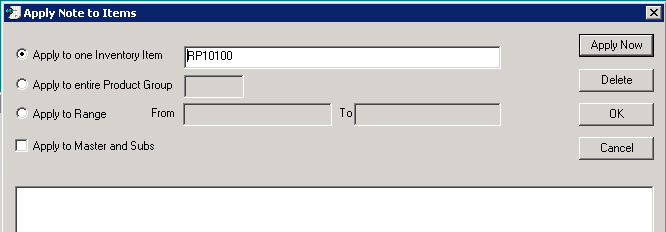
You can apply the Note to a single item (part) or several. If you are doing a Master number and want it applied to all Subs (fill numbers) check the Apply to Master and Subs.
After you have applied the Note to one or more items the Set Note Display/Print Contexts dialog will be shown.
PLEASE NOTE, not available in the
current version of Inventory Notes:
Display contexts for Purchase Orders
All print contexts.
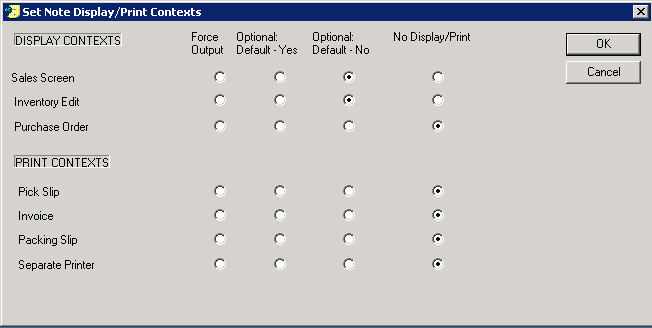
Force Output: The note will be displayed when the part number is used/called up.
Optional: The note may be displayed with a keystroke (F11 in Inventory Maintenance or Browser)
No Display: The not will not be available for display.
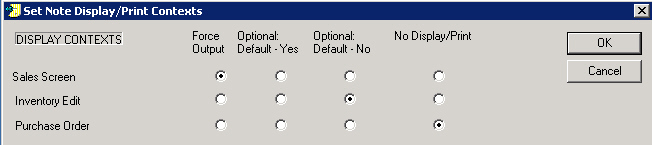
Example of a context setting.
Create a few notes, attach them to a few numbers with different settings to experience what will work best for you.
Copyright © 2005 Byte Designs Ltd. All Rights Reserved.